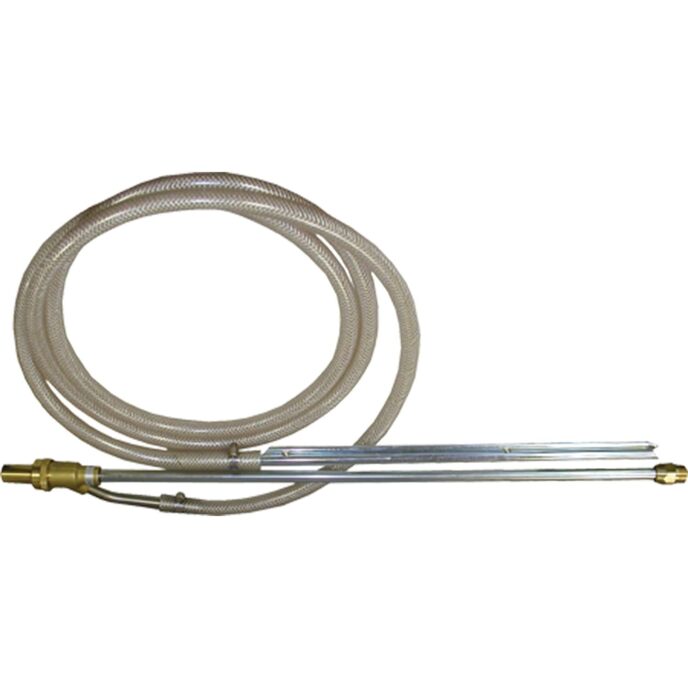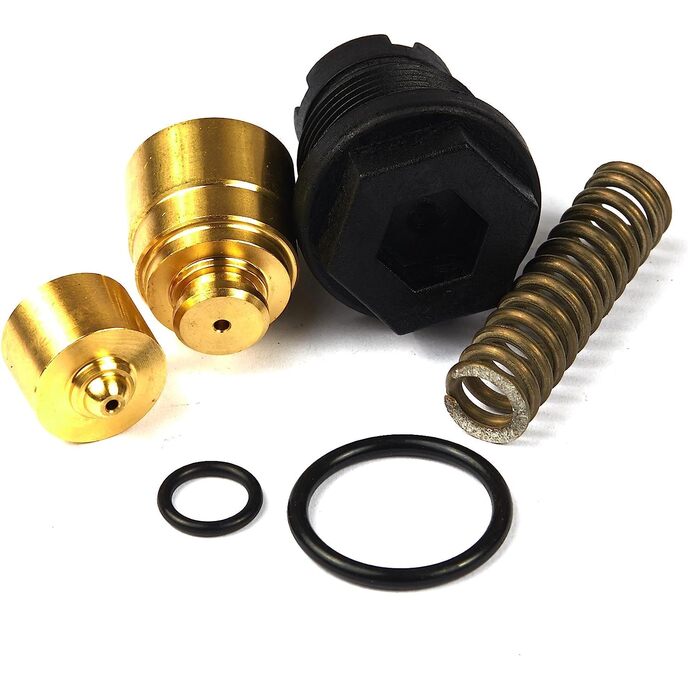
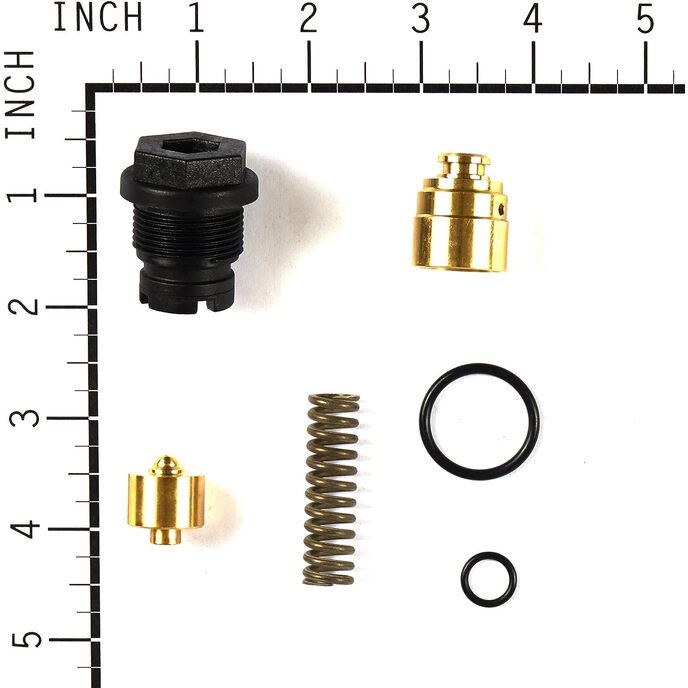
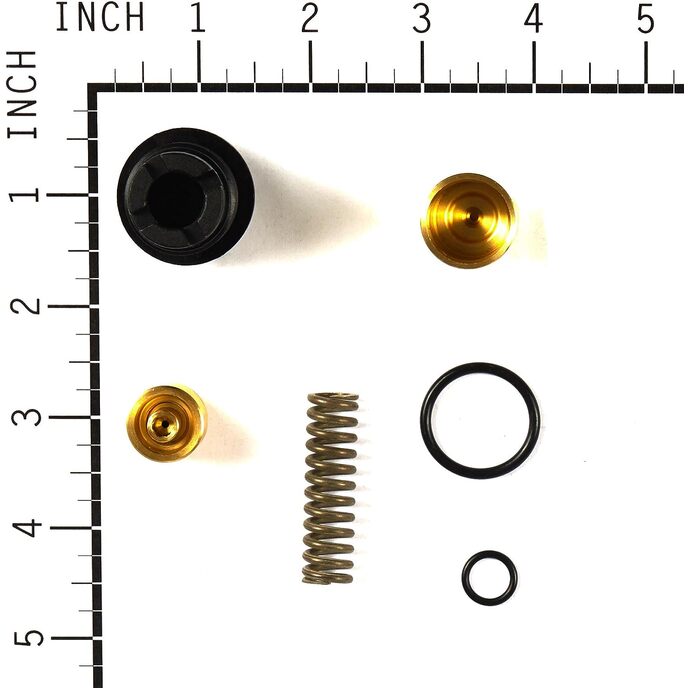
TOOTJALT Ehtne Briggs & Strattoni survepesuri koormamata komplekt, mida kasutati varasema stiili väikese raamiga pumpadel.
EAN: 0024847288506
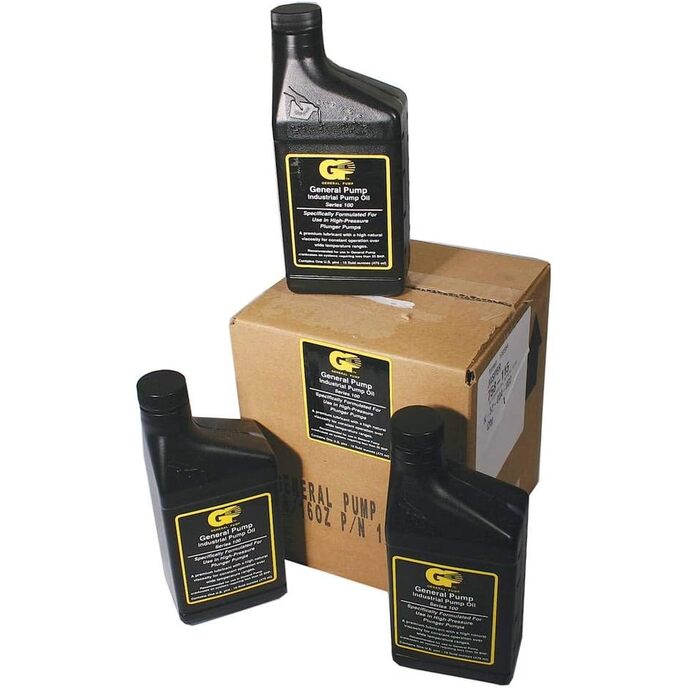
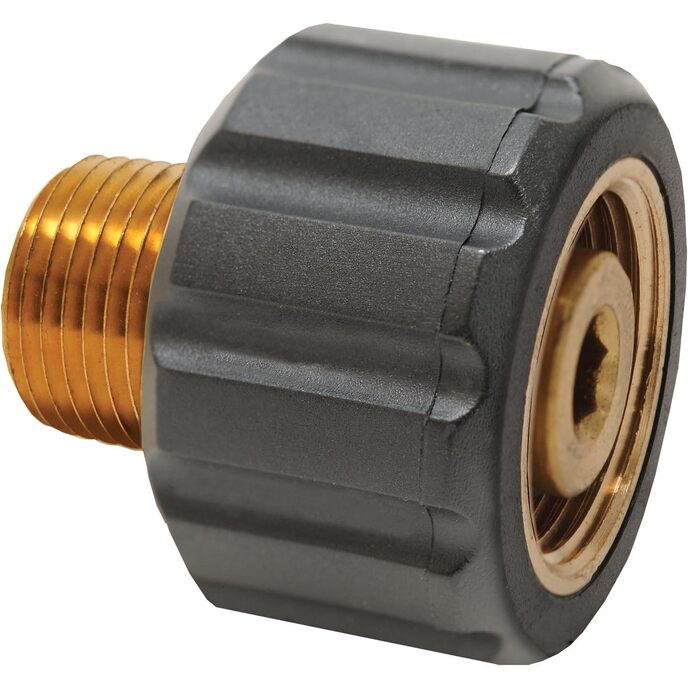
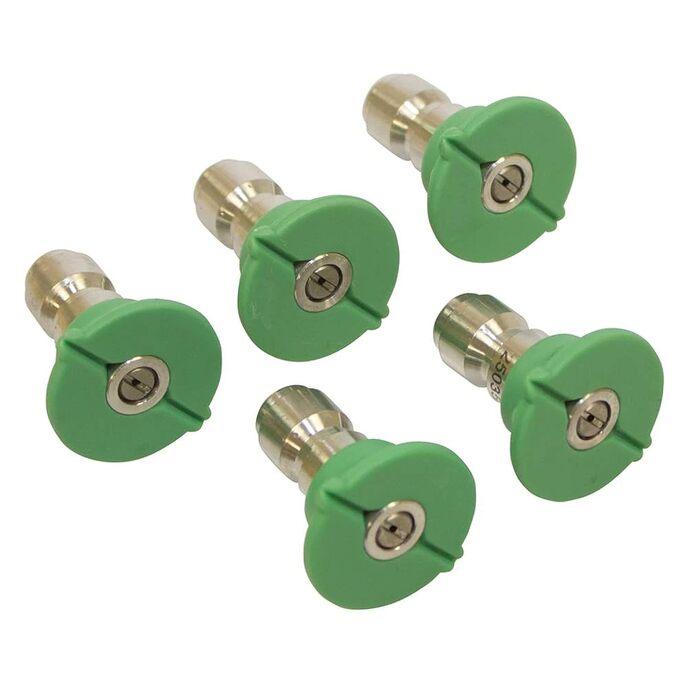
Kategooriad Terrass, muru ja aed, Oblikaseadmed, Vahetusosad ja tarvikud, Pingepesuri osad ja tarvikud,
| Brand | Briggs & Stratton |
| Color | Multicolor |
| Country of Origin | China |
| Customer Reviews | 4.2 4.2 out of 5 stars 160 ratings 4.2 out of 5 stars |
| Item model number | 187879GS |
| Item Weight | 0.01 Ounces |
| Manufacturer | Briggs & Stratton |
| Product Dimensions | 2 x 1.2 x 1 inches |